Installing the GUI#
Install the graphical interface to inspect and retrieve a FROG trace without writing Python. uv supplies Python and creates an isolated environment for croak. You will use a terminal for installation and launching; subsequent analysis takes place in the wizard.
Before you start#
You need an internet connection for installation. On macOS, open Terminal; on Windows, open PowerShell; on Linux, open your usual terminal. Copy the commands for your platform below. The installation reference covers platform requirements and optional features.
1. Install uv#
macOS / Linux:
curl -LsSf https://astral.sh/uv/install.sh | sh
Windows (PowerShell):
powershell -ExecutionPolicy ByPass -c "irm https://astral.sh/uv/install.ps1 | iex"
Or brew install uv on macOS. See the
uv install docs for
other options.
2. Install croak#
uv tool install --python 3.14 "croak[gui]"
uv downloads the right Python (3.14) if you do not have it, creates an
isolated environment, installs croak with the Qt interface from PyPI, and puts
the croak-gui command on your PATH. No system Python is touched.
On Linux, install the Qt system libraries if they are missing.
3. Run it#
croak-gui
If the shell cannot find croak-gui, run uv tool update-shell and open a new
terminal. See uv’s tool guide for PATH
configuration. If the window fails to appear on Windows, run
uvx --python 3.14 --from "croak[gui]" python -m croak.gui to display diagnostic
output in the terminal.
The window opens maximised and is laid out for displays of 1366×768 and up; un-maximised, it returns to the size you last left it.
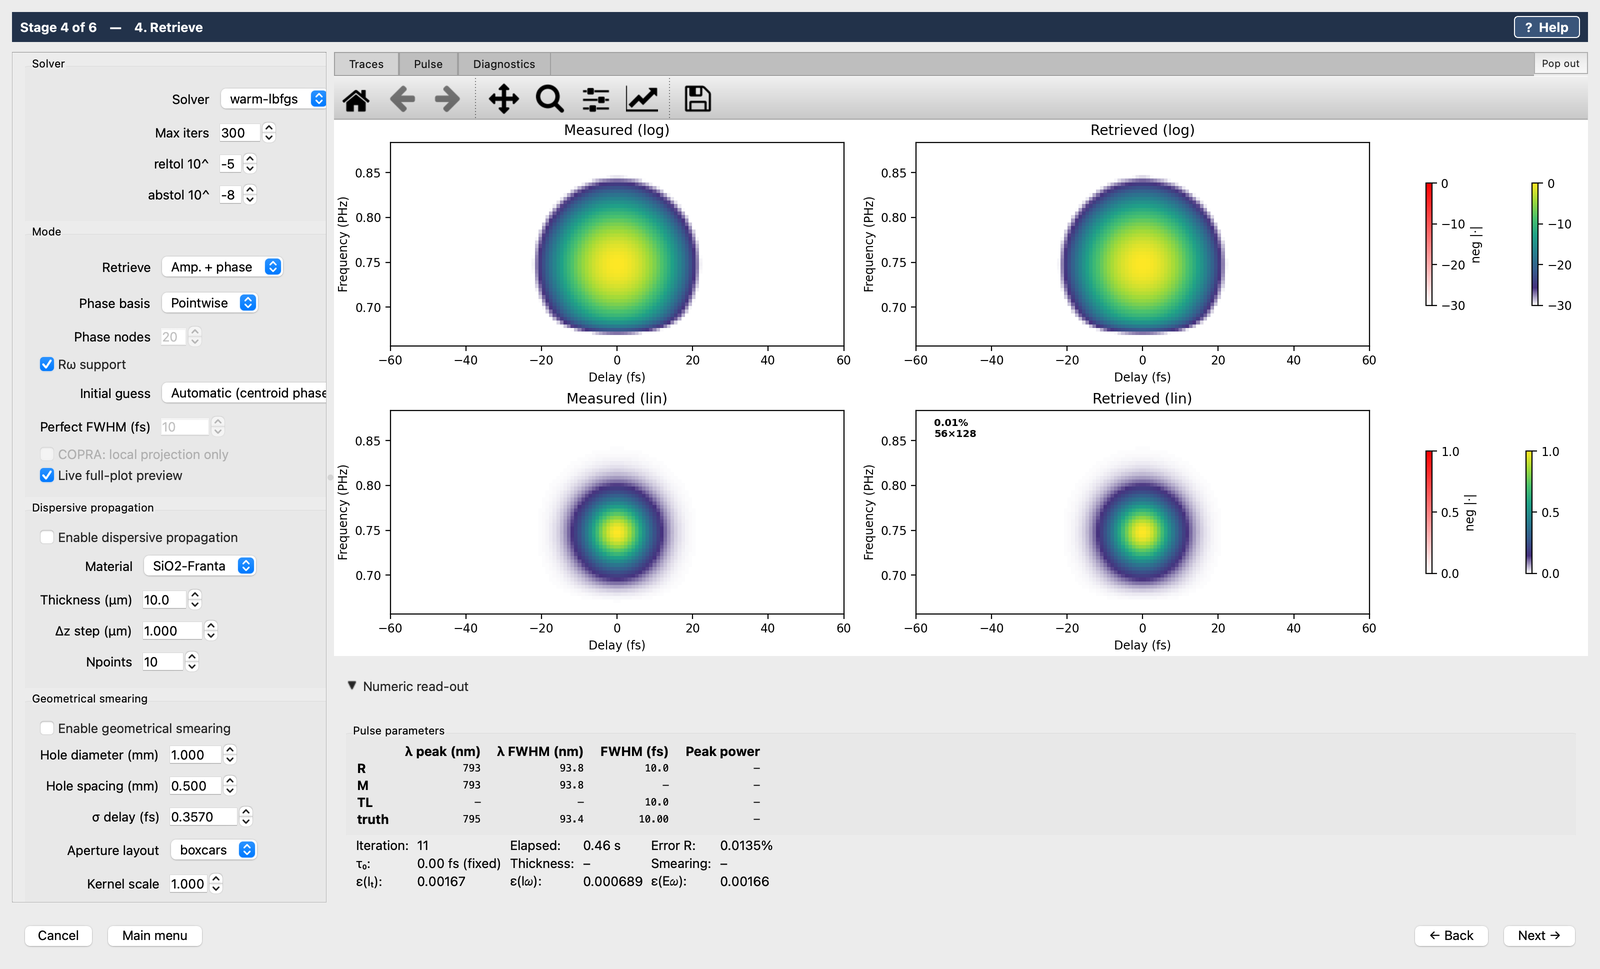
4. Use it#
The wizard walks through the retrieval in stages: Load (your measured trace
from an HDF5 or .npz file, with an optional independent spectrum from HDF5,
.npz or CSV and calibration curves from CSV; or a simulated scan),
Marginal check, Preprocess (filtering, background removal, regridding),
Retrieve, Dispersion (tuning with materials and chirped mirrors) and
Uncertainty (error bars on the retrieved duration). Hover over a control for
help with that setting, and use each stage’s ? Help button for guidance.
The GUI guide documents each stage in detail. Sessions save
to a TOML file that records every setting, so a retrieval can be re-run later
— including headlessly with croak replay session.toml — or exported as a
standalone Python script with croak script session.toml (the croak command
is installed alongside croak-gui).
Updating#
uv tool upgrade croak
If you would rather run from a checkout of the source — for example to try the
bundled examples too — clone the repository and use
uv sync --extra gui then uv run croak-gui from the croak directory; see
Installation.